3D-printed lab items:
adaptors for microscopes & gel doc system
Jon Moore, Pomona College
Questions or comments? Email the name in the title separated by a dot and at the last two parts of the domain name of this web page. main teaching page
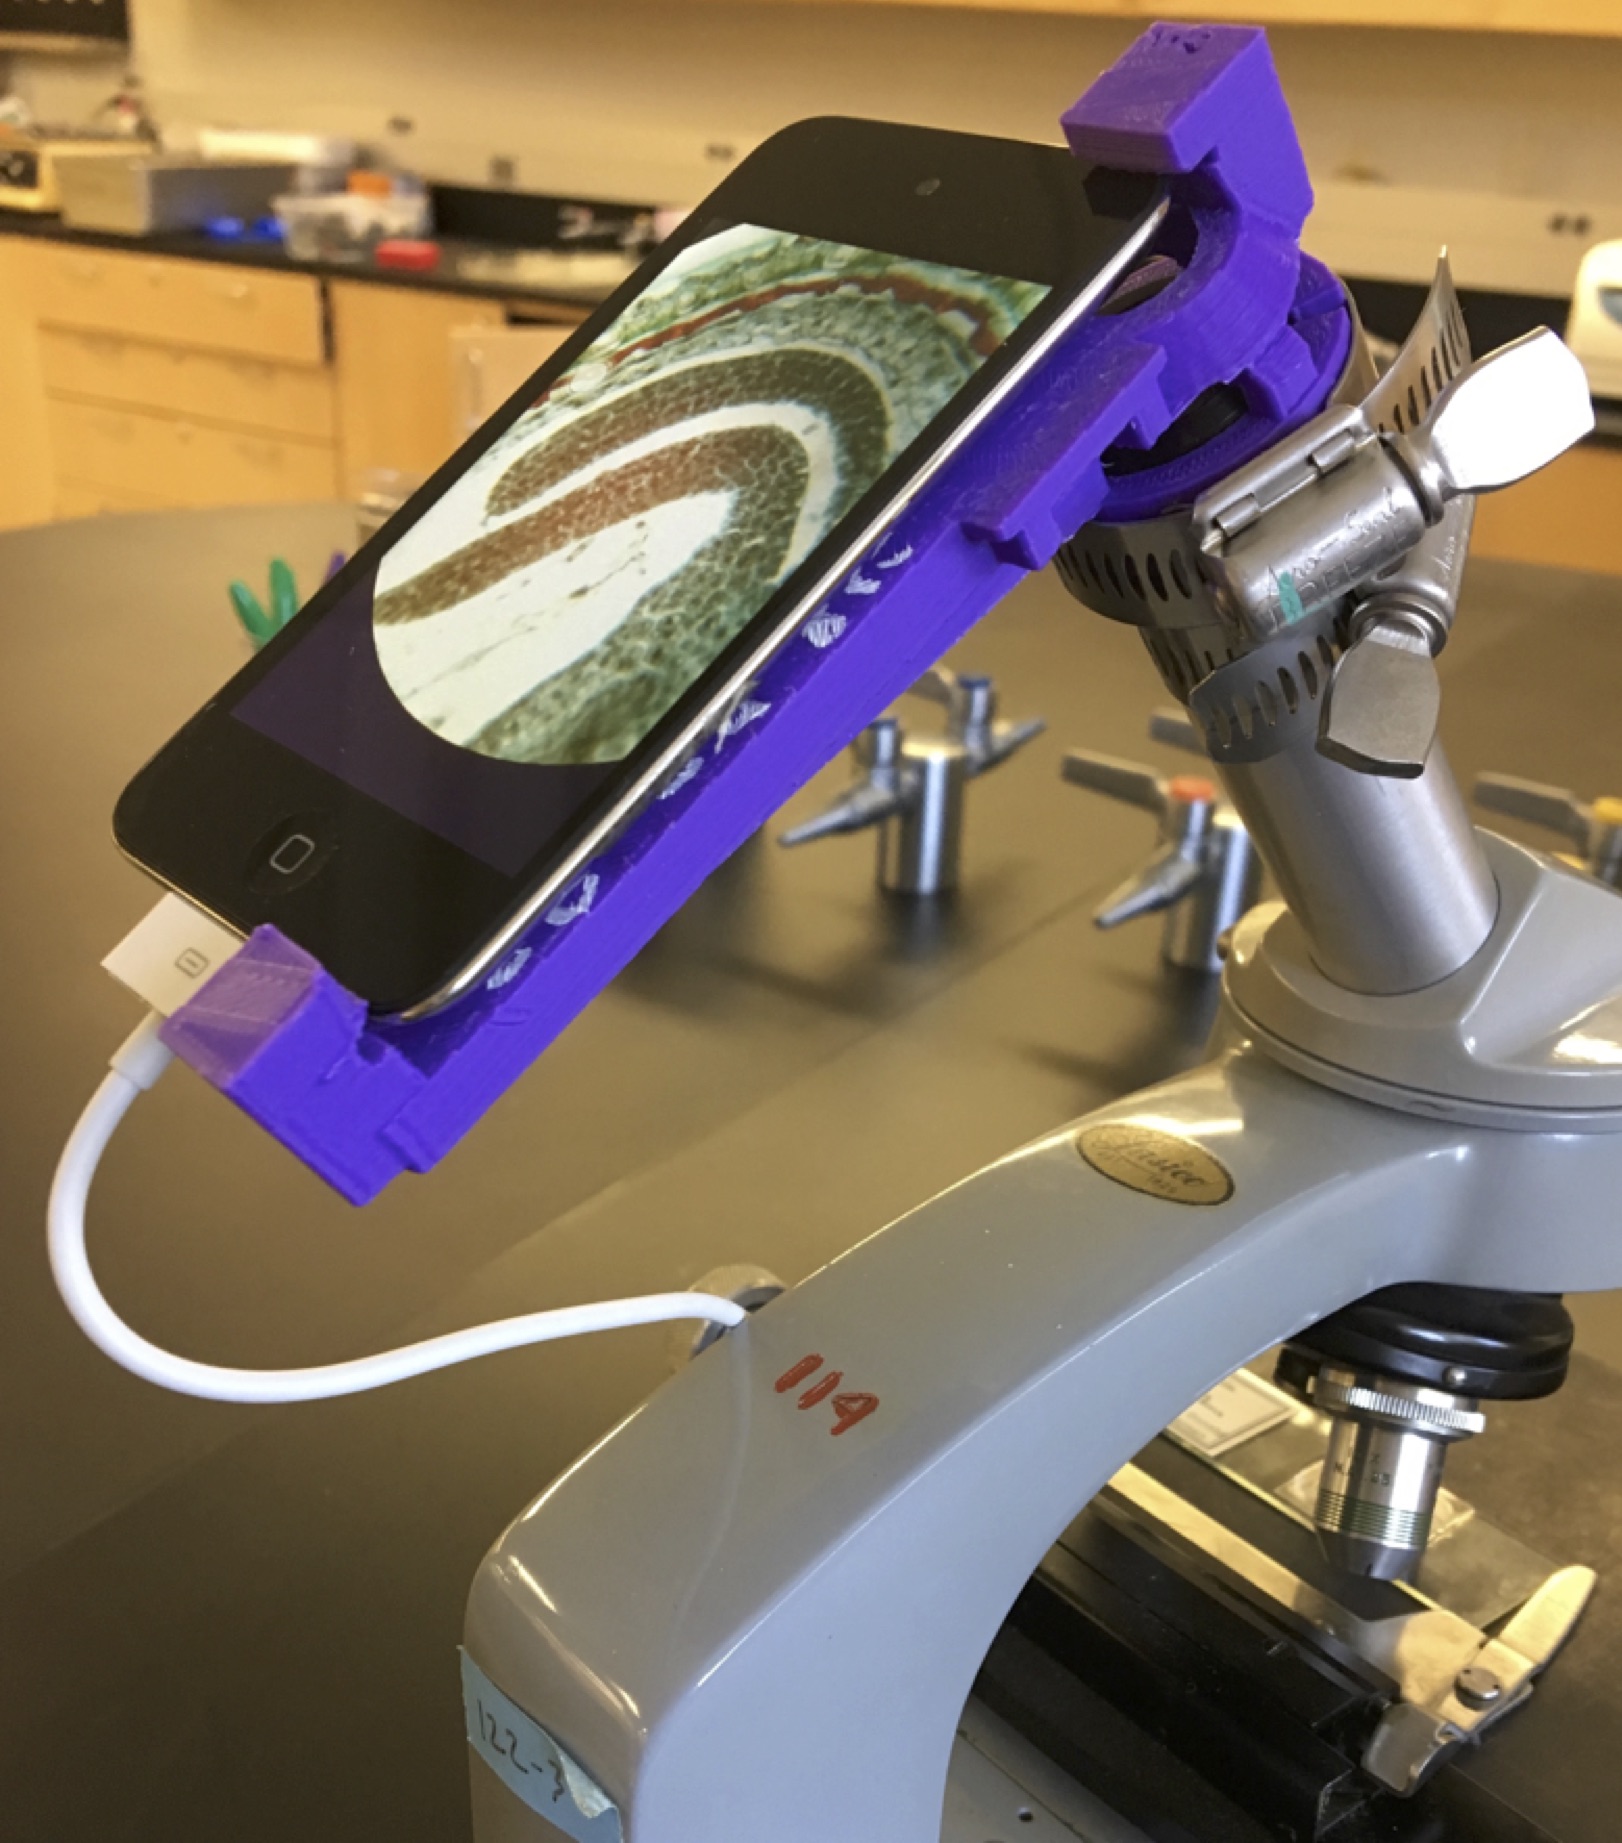
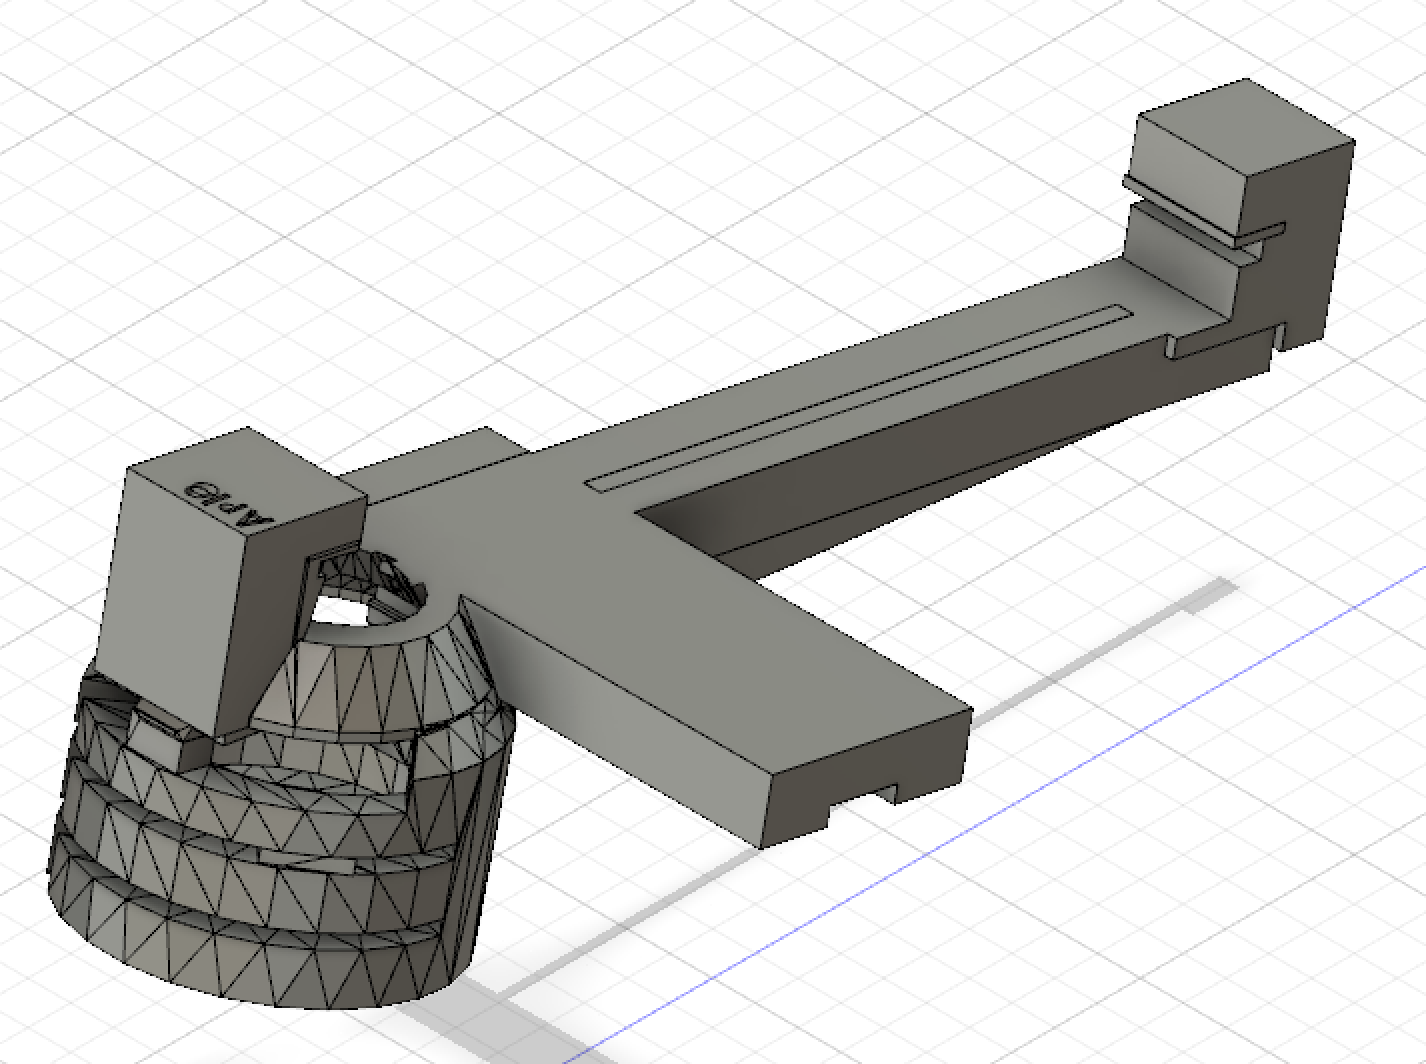
Adaptor to mount phone or iPod to a microscope
These are specific to a type of phone and a type of microscope, so you will need to make a stl file,
the type of file that you send to a 3D-printer
Instructions for taking measurements, downloading software to make the stl file, making the file, and getting it printed.
A YouTube video to help with using the software
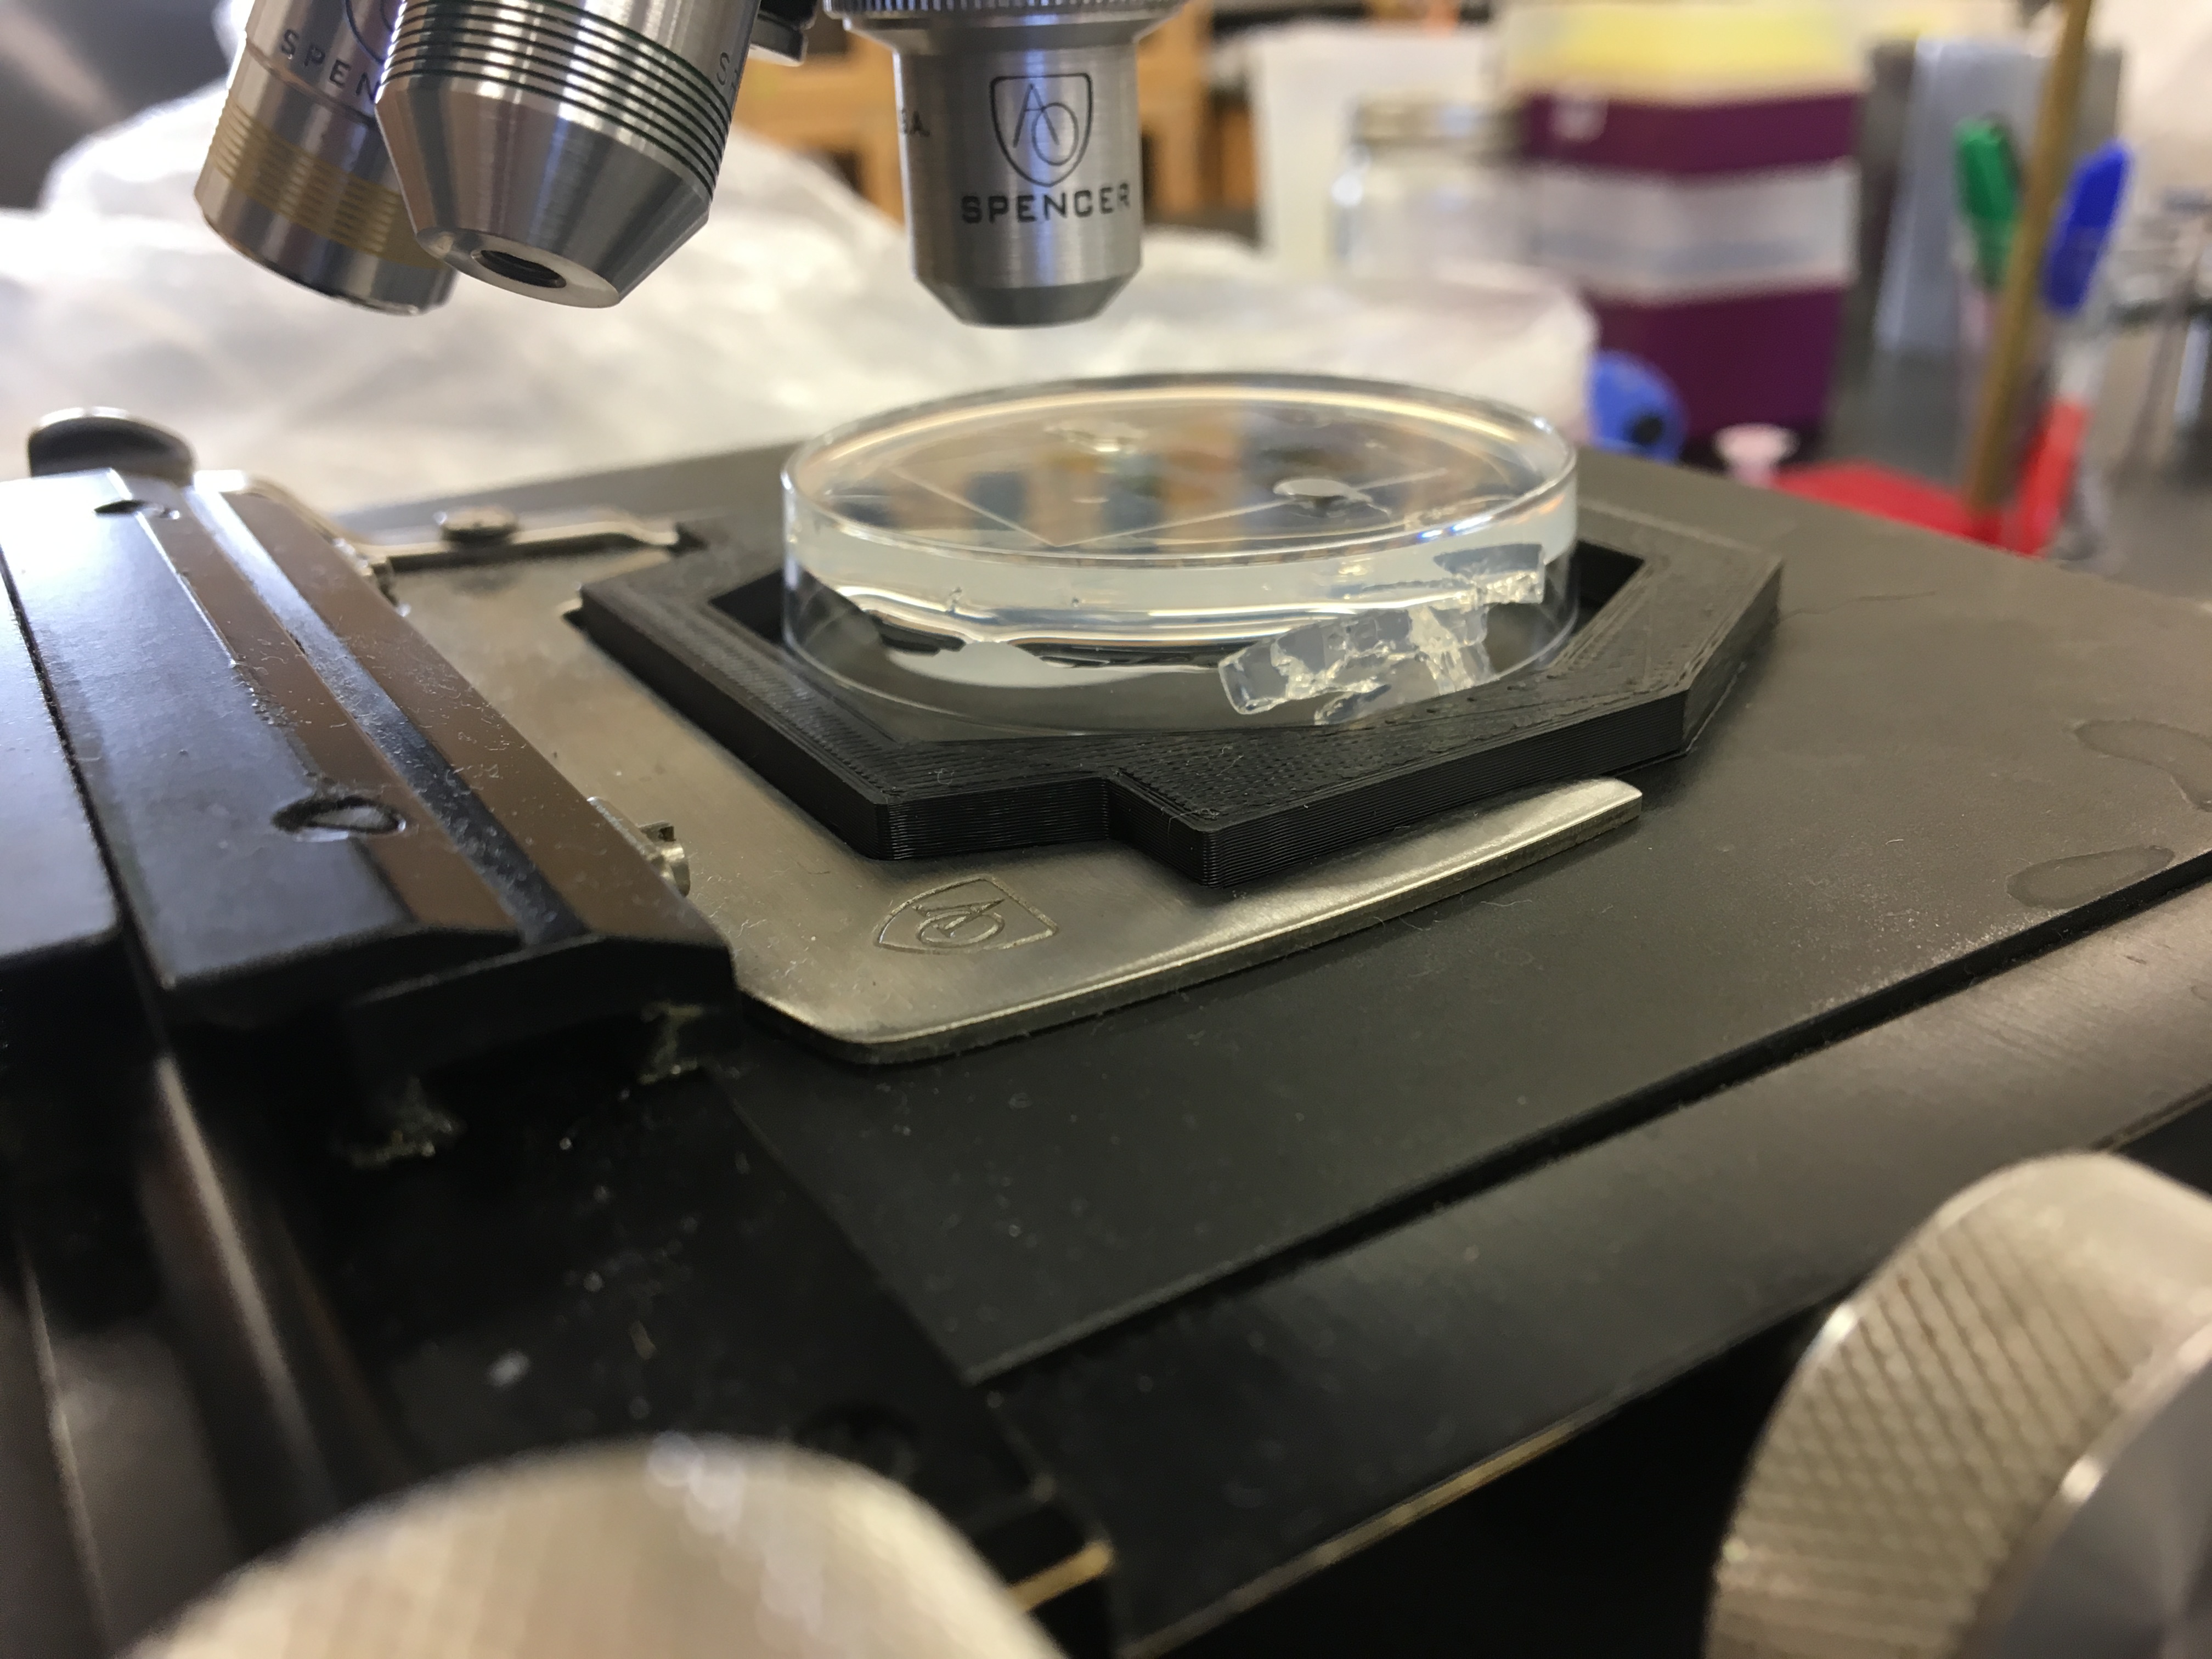
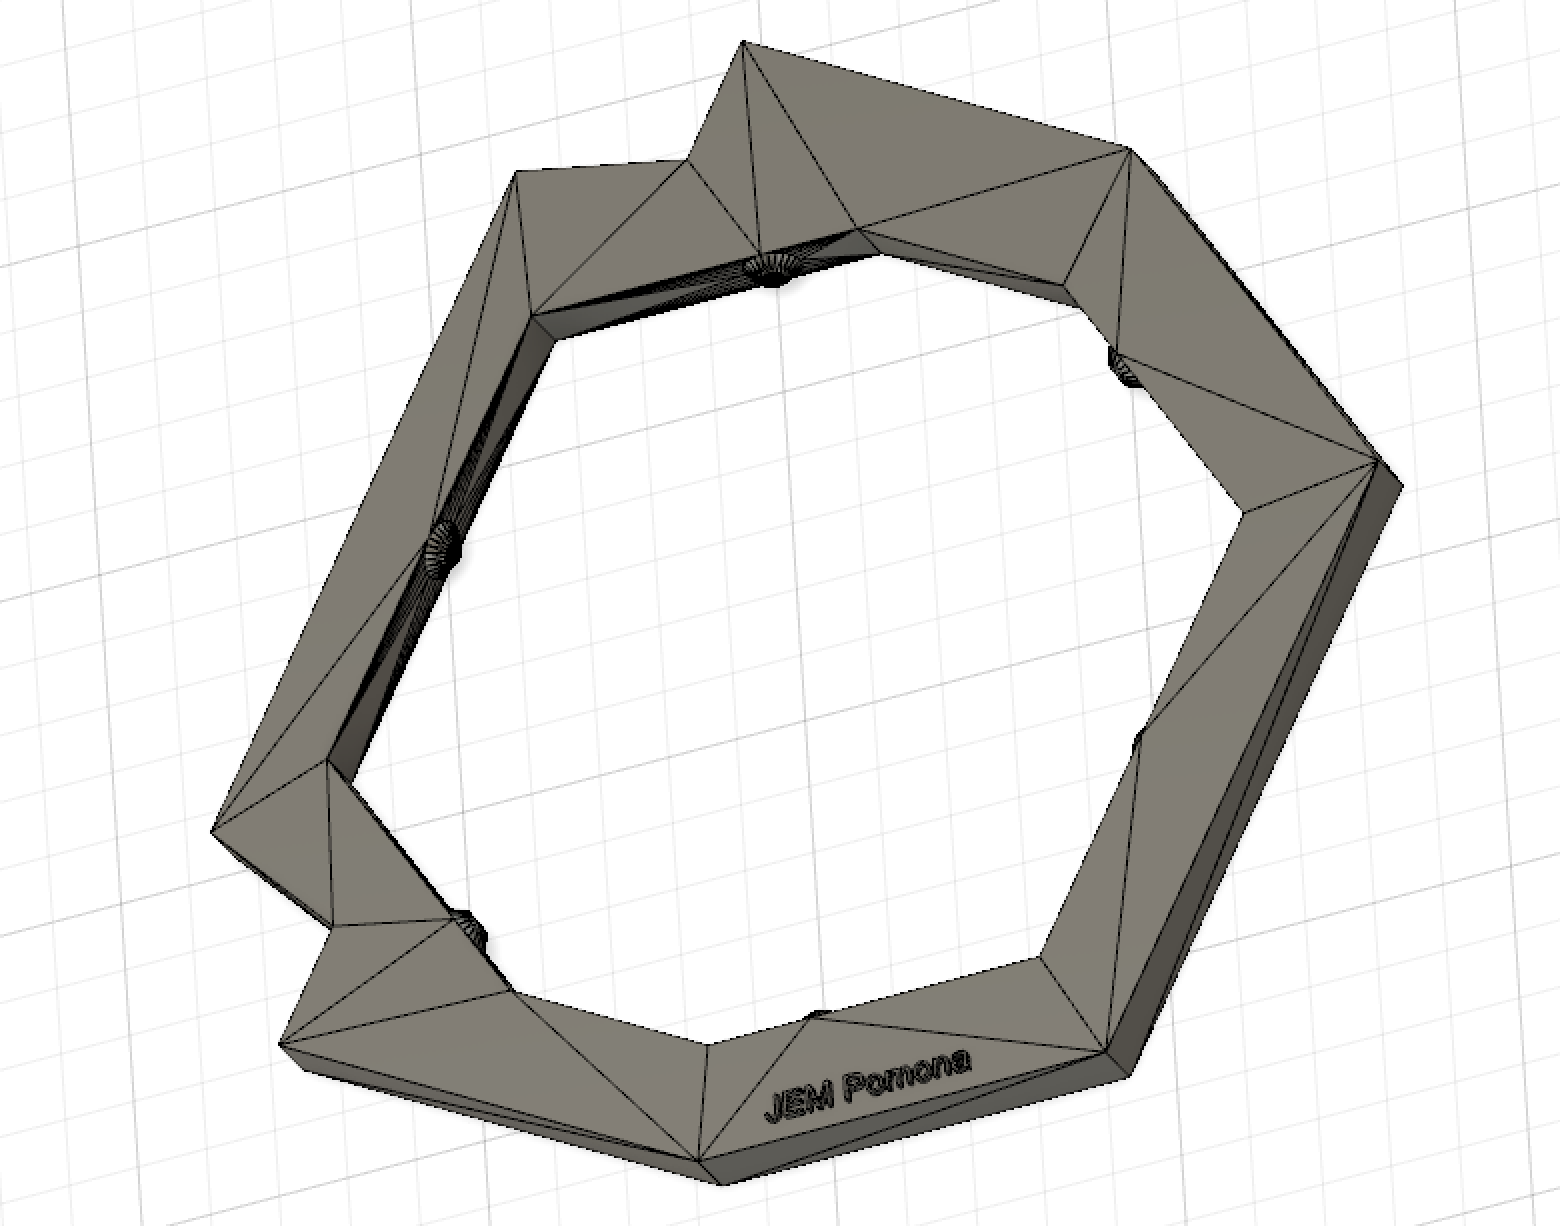
Adaptor to clip 6-cm Petri dish to the stage clips
These seem to work pretty well across a limitted survey of microscopes, 3D-printing platforms, and 6-cm Petri dishes
(The necessary stl file is here.)
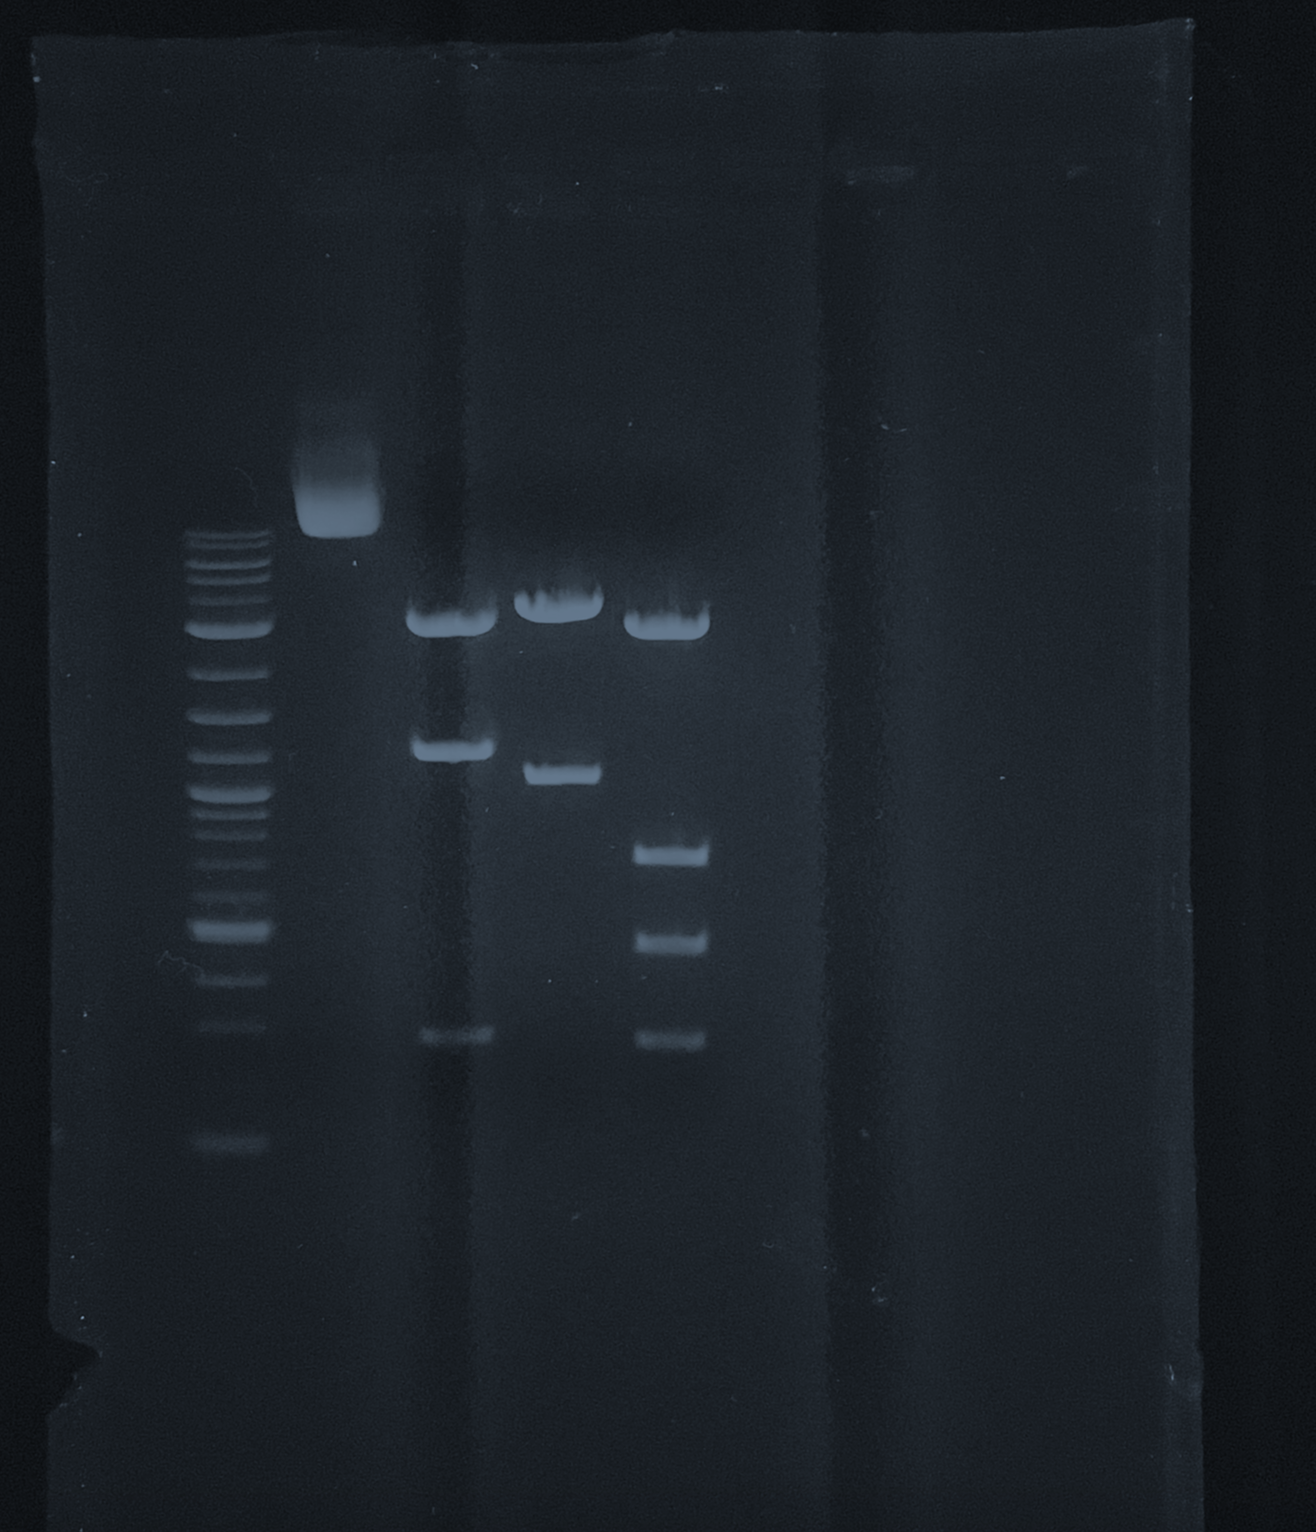
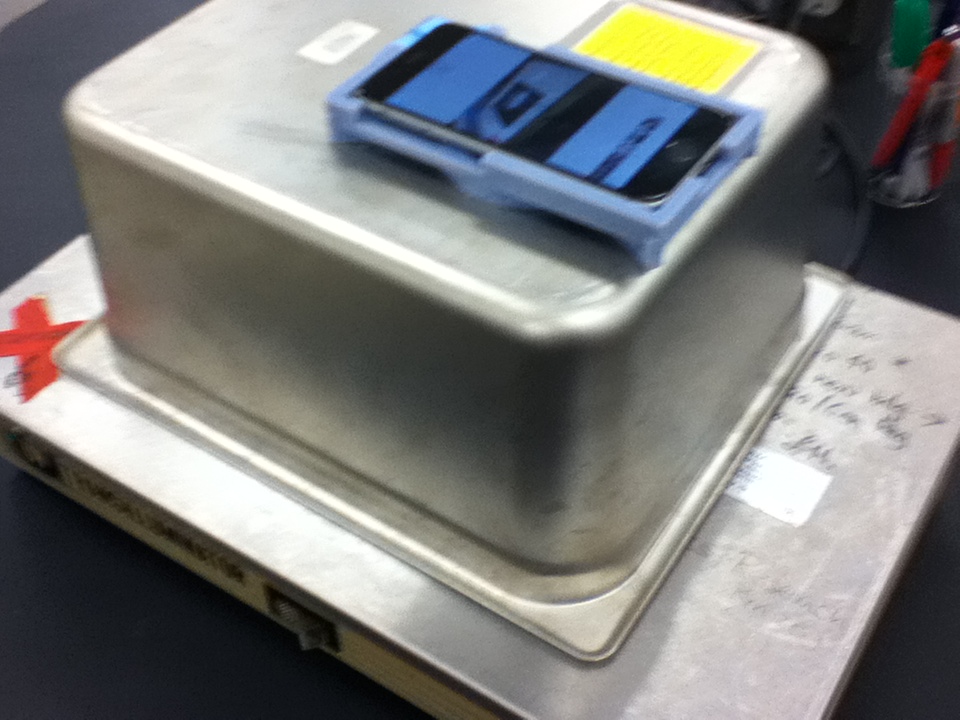
Gel doc system: made easily from an old UV transilluminator & $200 worth of stuff!
I've made two of these for use across my department.
Yes, you still need to wear UV-protectrive lab goggles.
What you'll need:
- an (old) UV transilluminator
- an iPhone 6S. $160 refurbished in June 2019 on Amazon. What's important is the phone size and the camera quality and position.
- A deep yellow telescope filter. $10 in June 2019 from telescopesplus.com.
- a half-sized 6-inch-deep steam table pan. $25 in June 2019 from restaurantsupply.com. What's imporant is that the box be sturdy, opaque, and the right size.
You'll need to drill a 1.5 inch / 35 mm hole in it, and since my box was steel, I went to my college's machine shop.
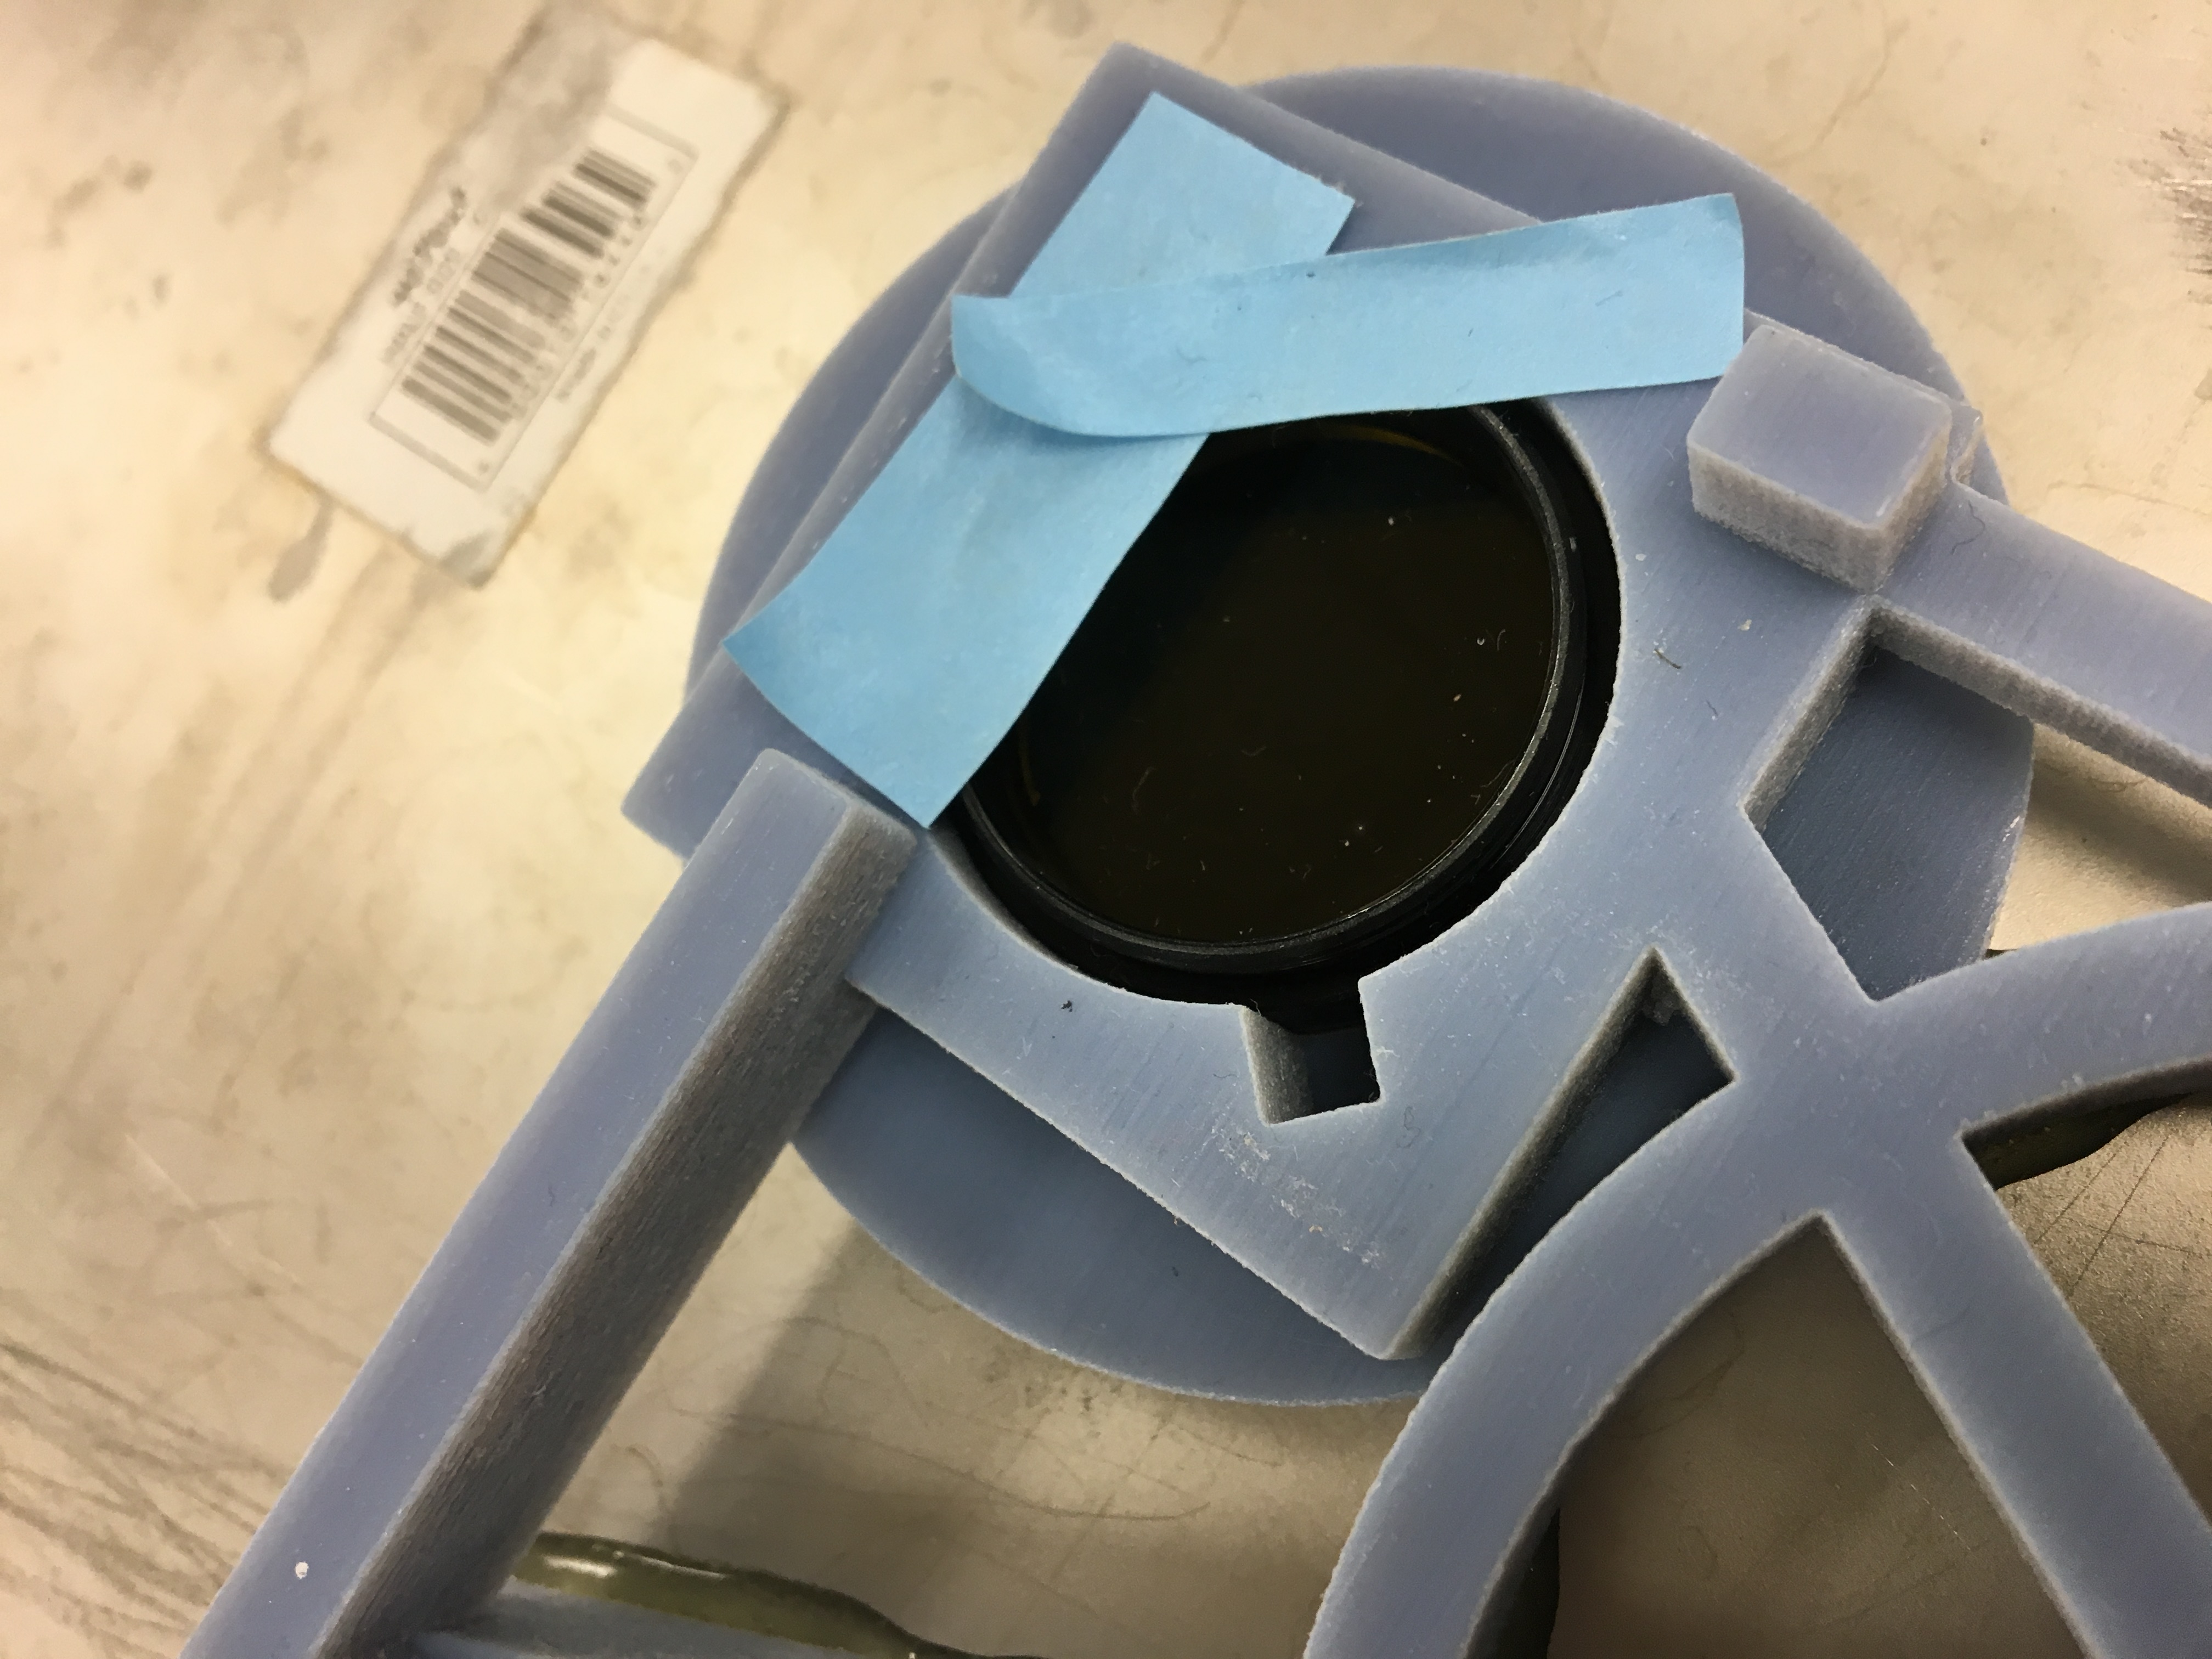
- A 3D-printed adaptor (The necessary stl file is here.) to hold it all in the right places. ~$10-15
- glue and opaque tape. For glue, I used two-part epoxy.
Directions:
- Drill the aforementioned hole in the center of your pan/5-faced box.
- Glue the adaptor to the pan aligning the drilled hole with the round hole of the adaptor.
- Once the glue has dried, place the telescope filter in the adaptor's hole.
- Put the phone in the adaptor so the camera aligns with the filter and hole.
- Put some opaque tape over the still visible parts of filter to eliminate glare off the filter into the phone's camera.
- Put your gel on the transilluminator, turn it on, put the box and camera over it, and take a picture. (I like Mono (black-and-white) mode, but it isn't that important.
- Email it or AirDrop it whereever you want it to go!
FAQ:
- Does my iPhone need a phone plan?
No. That would be expensive.
You'll need a SIM-card briefly when you first set it up, but it only needs wireless internet.
I set up a gmail accounts that our systems use to mail gel images.
- Occasionally my images are blurry. What's up?
Likely you've left a gel under the box for many minutes and water vapor from your gel has condensed on the filter.
Take the box off the transilluminator and your gel for a minute, and in a minute the condensation will evaporate.
- Where can I get stuff 3D-printed?
Perhaps at your institution. Lots of vendors are online. I get a lot of my stuff printed at here.